
Your photo gives an AI album cover a starting point that belongs to your release: your face, an outfit, a location or an object with a story. The useful part is deciding what should remain recognizable and what should change around it.
To make an album cover from a photo, choose a clear reference you have permission to use, write a brief that separates the subject from the setting, generate a direction, then check the result against the original and your release details. Finish by inspecting the downloaded file before sending it to your distributor.
This walkthrough uses Covermatic’s AI cover art generator. The examples below are suggested briefs, not recorded customer results or promises about what a generation will produce.
Want a place to write your idea? Download the one-page photo-to-cover brief (PDF). Print it or use the questions in your own notes. No email address required.
1. Choose a photo that gives the cover a clear subject
Start with the original photo rather than a screenshot of a social post. Look for a subject you can identify immediately, visible facial details if it is a portrait, and enough room around the subject to try a square composition. A crowded group shot is a harder starting point when the cover should feature one artist.
- Portrait: choose the expression and pose you actually want associated with the song. If your face matters, avoid a reference where it is hidden behind glare or motion blur.
- Location: decide whether the place tells the story or simply supplies a background. A recognizable room may matter for a personal record; a random wall may be replaceable.
- Object: use one meaningful item, such as your own guitar or a worn notebook, when a portrait would distract from the concept.
Being in a photo does not by itself establish permission to distribute it. Confirm your permission with the photographer and for other reference material before uploading. Apple’s cover-art guidance says images belonging to other copyright holders need written permission. Review Covermatic’s terms for uploaded assets and AI content too.
2. Write down “keep,” “change” and the release text
A brief such as “make this look professional” leaves almost every design decision open. Give the tool a subject, setting, palette and mood. Use the artist and release-title fields for the exact names you intend to release.
For a fictional single called After the Last Train, the working brief could be:
Use my uploaded portrait as the reference. Keep my face, short hair, black jacket and three-quarter pose recognizable. Change the background to a quiet train platform after midnight, with dark navy shadows and one warm amber light. Keep the composition square, with me as the main focal point and uncluttered space above my shoulder for the artist name and release title. Mood: reflective, tired, hopeful. Do not add station signs, logos or extra people.
These are directions to review against the output. A reference photo does not guarantee an exact likeness, pose or outfit in every result.
3. Match the treatment to the song, then generate
In Covermatic, choose Custom Cover Art. Enter your artist name in Artist & features and your release title in Song / album title, then put your brief in Visual concept. Photo uploads are credit-gated: sign in and check your credits before adding your reference. The form accepts JPG, PNG and WebP references, up to 10 images at 20 MB each. Choose Get Started when you are ready to generate. Generation and downloads require an account.
One clear reference and one direction are enough to start. Extra photos should answer a specific need, such as clarifying the subject or showing a color direction, rather than supplying conflicting outfits and settings.
Here are two other briefs to adapt:
- Intimate R&B portrait: “Keep the person and natural expression from my photo. Replace the busy background with a soft plum room and a narrow strip of warm window light. Use restrained texture, a close square composition and simple cream lettering for my artist name and title. Avoid extra jewelry and background text.”
- Guitar-led acoustic single: “Keep my guitar as the main subject from the uploaded photo. Place it against a faded blue studio wall with late-afternoon light. Leave the lower-right area simple for the release title. Mood: quiet and handmade. No people, logos, additional instruments or promotional wording.”
At the time of this review, a cover generation uses 5 credits and an edit uses another 5. One generation plus one edit therefore uses 10 credits. That is a budgeting example, not a promise that two attempts will finish your cover. Review the current credit packs and the tool’s credit menu before purchasing.
4. Review the subject before polishing the effects
Compare the result with the photo side by side. Check the face, hands, clothing, instrument shape and any detail you asked to preserve. Then shrink the cover to roughly 128 pixels: can you still tell what the focal point is? This is a practical design check, not a platform upload requirement.
If the subject is wrong, address that before adding more lighting or texture. If the subject works but the background competes with it, make a specific edit:
Keep the person, jacket, face and current framing. Simplify the background by removing the bright sign on the left. Retain the navy and amber palette. Correct the release title to “After the Last Train” and make it clearly readable. Do not add any other text.
Review again after the edit. When the basic subject or composition repeatedly misses the brief, reconsider the photo or direction before buying more revisions. Keep only the artist name and release title on the cover if you need text; see our guide to text on album cover art for the distinction between cover information and promotion.
Watch the thumbnail check
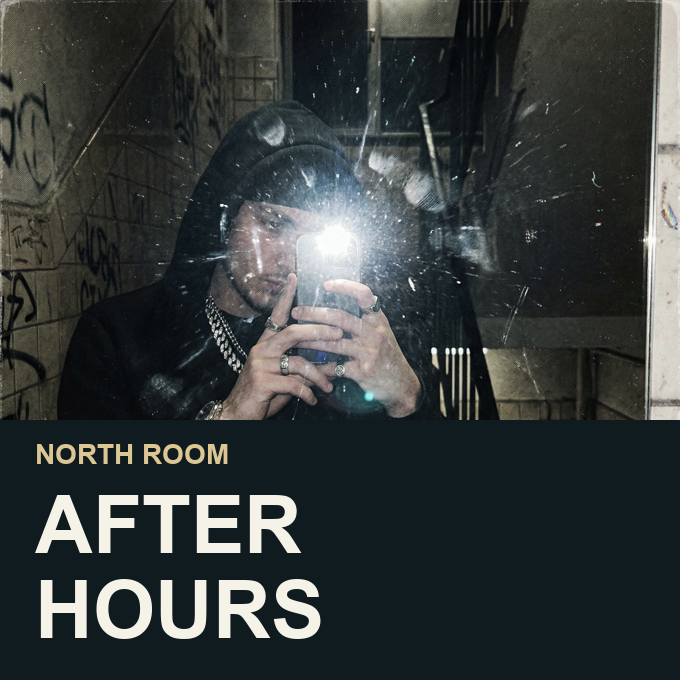
See the three checks in a 32-second album-cover demonstration: identify the subject, read the title and check whether the mood survives at a small size. The North Room artwork is a fictional teaching example made from an owned portrait, not a recording of Covermatic generating a cover.
5. Check the actual file for the route you will use
Reference-upload limits are different from distribution requirements. Open the downloaded artwork and check its pixel dimensions, format and color settings. The preview looking square does not establish that the saved file meets your destination’s requirements.
Official guidance checked on October 3, 2026 differs by service:
| Service | Published guidance |
|---|---|
| DistroKid | JPG in RGB; 1000 × 1000 pixels minimum, ideally a square 3000 × 3000 file. Avoid URLs, QR codes, prices and streaming-service logos. |
| Spotify | Square artwork, 640–10000 pixels wide and tall; TIFF, PNG or JPG with lossless encoding and sRGB color. Spotify says not to upscale images. |
| Apple Music | JPG, PNG or GIF; a perfect square and at least 4000 × 4000 pixels. Artist and release text must be relevant; no promotional dates, pricing or advertising. |
| TuneCore | JPG, PNG or GIF under 10 MB; square, 1600–3000 pixels per side, in RGB. Any artist name or title must match the entered release details. |
The Apple and TuneCore pages publish different size guidance. Do not assume one “universal” export covers every route, or enlarge a smaller image merely to satisfy a number. Check your distributor’s current upload instructions and ask its support team how it delivers to your chosen stores if the requirements conflict. This guide does not establish a fixed Covermatic download resolution or guarantee distributor acceptance.
6. Build promotion from the approved direction
Once you have reviewed the cover, use it as a reference in Covermatic’s Promo Graphics workflow for an Out Now, Pre-Save or other announcement. Each Promo Graphics creation uses 5 credits. Put the date, promotional message and call to action on that separate graphic. Check the chosen layout rather than treating it as another square album cover.
Your next step can stay simple: bring one photo, the exact artist and release names, and a brief that explains what to keep and what to change. Start a photo-based cover in Covermatic, then choose a credit pack when you are ready to generate.
Leave a comment: